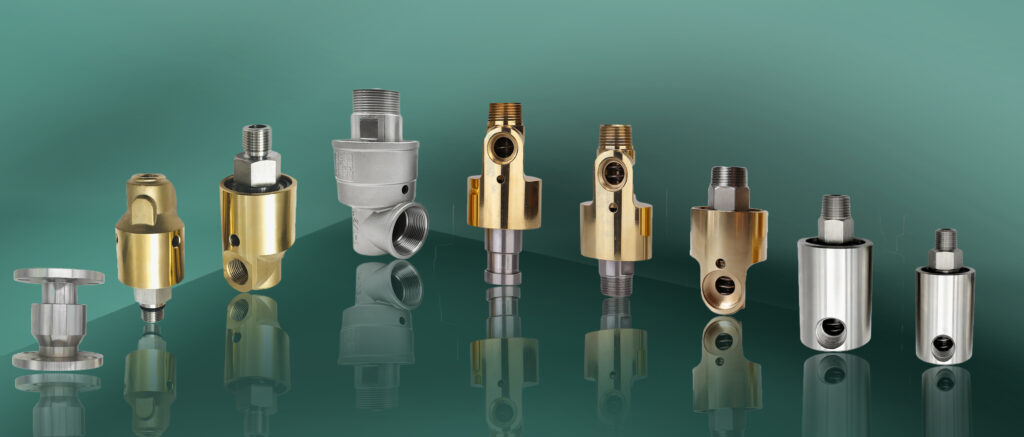
HOW DO YOU INSTALL A ROTARY JOINT?
Installing a rotary union hydraulic correctly is crucial to ensure its proper function and longevity. Here’s a detailed step-by-step guide to help you through the installation process:
Step-by-Step Guide to Installing a rotary union hydraulic
1. Preparation and Safety
– Safety First: Wear appropriate personal protective equipment (PPE), including safety glasses and gloves.
– Isolate the System: Turn off the hydraulic or pneumatic system and relieve all pressure. Close any valves to the section of the system you are working on to prevent accidental fluid release.
2. Inspect the Components
– Check the rotary union hydraulic Ensure the rotary union hydraulic is in good condition, with no visible damage to the housing, shaft, or seals.
– Clean the Components: Clean the housing, shaft, and any connecting parts to remove dirt, debris, or old lubricants.
3. Prepare the Installation Area
– Clear the Workspace: Ensure the installation area is clean and free of obstacles.
– Position the Equipment: Align the rotary union hydraulic with the equipment it will be connected to, ensuring it is level and properly supported.
4. Install the Housing
– Attach the Housing: Secure the housing to the stationary part of the system. This could be a machine frame, a pipe, or another fixed component.
– For Screw Connections: Use the appropriate wrench or socket to tighten the screws or bolts. Ensure they are tightened evenly to avoid misalignment.
– For Flange Connections: Place a gasket between the flanges if required, align the flanges, and tighten the bolts in a crisscross pattern to ensure even pressure distribution.
5. Install the Shaft
– Align the Shaft: Insert the shaft into the rotating component, ensuring it is aligned with the housing.
– For Screw Connections: Apply a small amount of thread locker or anti-seize compound to the threads if recommended by the manufacturer. Use the appropriate tool to tighten the screws or bolts.
– For Flange Connections: Align the flanges and tighten the bolts in a crisscross pattern.
6. Connect the Fluid Lines
– Attach the Inlet and Outlet Ports: Connect the fluid lines to the inlet and outlet ports of the rotary union hydraulic.
– For Quick-Connect Fittings: Push the fitting onto the port and ensure it clicks into place.
– For Compression Fittings: Slide the nut and ferrule onto the hose, insert the hose into the port, and tighten the nut using a wrench.
– For Flare Fittings: Slide the nut and flare onto the hose, insert the hose into the port, and tighten the nut using a wrench.
7. Check for Leaks
– Open the Valves: Slowly open the valves to the system and allow fluid to flow through the rotary union hydraulic.
– Inspect for Leaks: Carefully inspect all connections for any signs of leaks. Pay particular attention to the seals and fittings.
– Tighten as Needed: If you find any leaks, tighten the connections as needed. Do not overtighten, as this can damage the threads or seals.
8. Test the System
– Operate the System: Run the hydraulic or pneumatic system to ensure the rotary union hydraulic is functioning correctly.
– Monitor Performance: Observe the joint for any unusual noises, vibrations, or movements. Check the fluid flow and pressure to ensure they are within the specified range.
9. Final Inspection and Documentation
– Double-Check All Connections: Ensure all connections are secure and properly aligned.
– Document the Installation: Record the installation date, the type of rotary union hydraulic used, and any other relevant information for future reference.
Additional Tips
– Follow Manufacturer Guidelines: Always refer to the manufacturer’s installation instructions and specifications.
– Use the Right Tools: Ensure you have the correct tools for the job to avoid damaging the rotary union hydraulic or other components.
– Regular Maintenance: Schedule regular inspections and maintenance to ensure the rotary union hydraulic continues to perform reliably.
By following these steps, you can ensure that your rotary union hydraulic is installed correctly and safely, providing efficient and reliable fluid transfer in your system.
