HOW TO REBUILD A DEUBLIN ROTARY UNION?
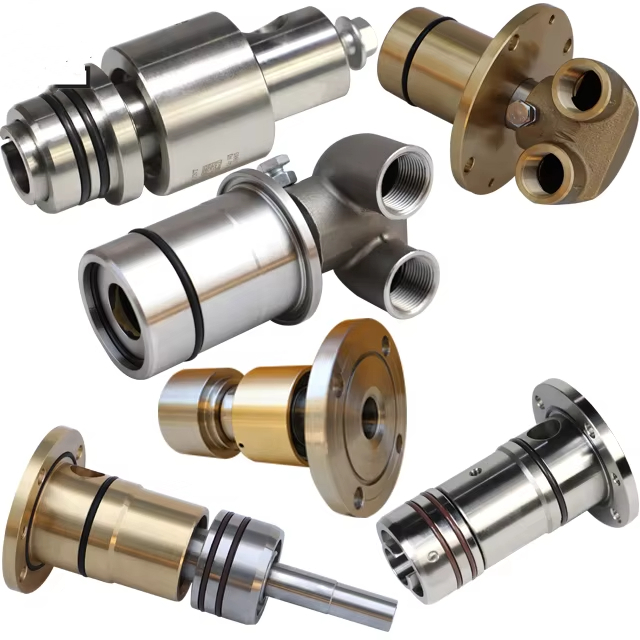
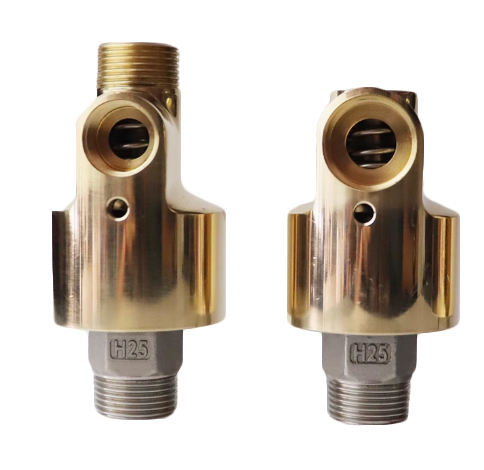
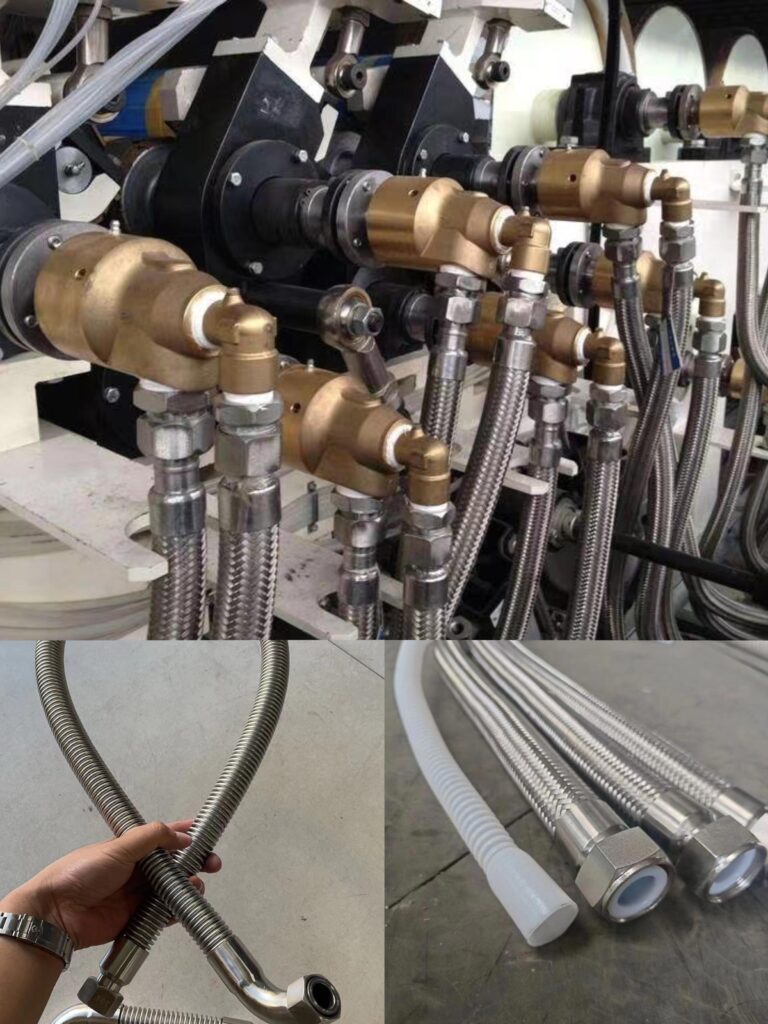
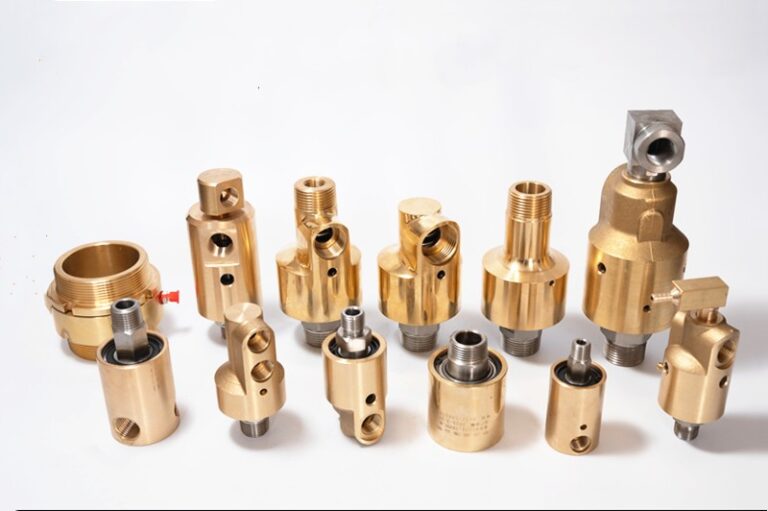
Rebuilding a dublin rotary unions involves disassembling the unit, inspecting and replacing worn or damaged components and then reassembling it. This process can help extend the life of the dublin rotary unions and ensure it continues to function efficiently. Here’s a general guide on how to rebuild dublin rotary unions :
Tools and Materials Needed to rebuild dublin rotary unions
– Wrenches and Sockets: For removing and tightening bolts.
– Seal Puller or Pick Tool: For removing seals.
– Clean Rags and Cleaning Solvent: For cleaning parts.
– Replacement Parts Kit: Typically includes new seals, O-rings, bearings, and other necessary components.
– Lubricant: Appropriate for the type of fluid being transferred.
– Torque Wrench: To ensure proper torque specifications are met.
Steps to Rebuild dublin rotary unions
1. Preparation
– Safety First: Ensure the system is depressurized and the rotary union is disconnected from any power sources.
– Gather Tools and Parts: Have all necessary tools and replacement parts ready.
2. Disassembly
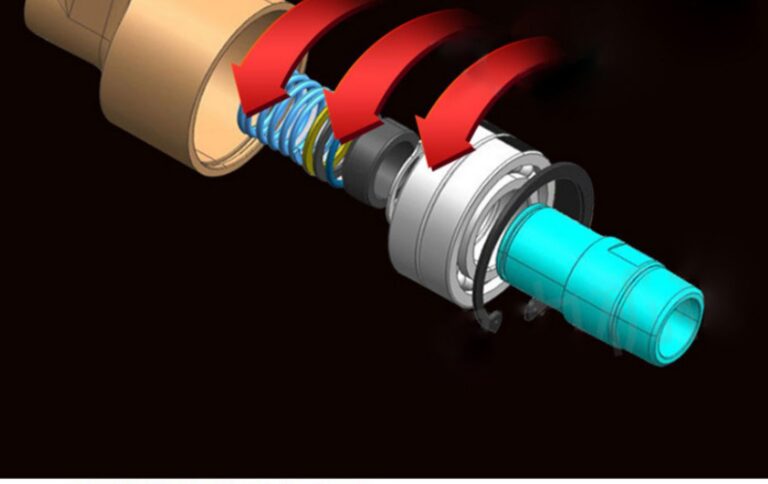
– Remove the Housing: Use appropriate wrenches or sockets to remove the housing bolts. Carefully separate the stationary and rotating parts.
– Extract the Shaft: Remove the shaft from the housing. This may require a puller if the shaft is press-fit.
– Remove Seals and Bearings: Use a seal puller or pick tool to carefully remove the seals and bearings. Be careful not to damage the housing or shaft.
3. Inspection
– Inspect All Components: Check the housing, shaft and all internal parts for wear, corrosion or damage.
– Measure Clearances: Ensure that the clearances between the shaft and housing, as well as the seals, are within the manufacturer’s specifications.
4. Cleaning
– Clean All Parts: Thoroughly clean all parts with a suitable solvent and clean rags. Ensure no debris or contaminants remain.
5. Reassembly
– Install New Seals and Bearings: Place the new seals and bearings in their respective positions. Ensure they are properly seated and aligned.
– Reinsert the Shaft: Carefully reinsert the shaft into the housing, ensuring it is properly aligned.
– Reattach the Housing: Reassemble the housing, using the bolts and torque wrench to tighten them to the specified torque.
6. Final Checks
– Check for Leaks: Once reassembled, check for any leaks by applying pressure and observing for any signs of leakage.
– Test Operation: Test the rotary union under operating conditions to ensure it functions correctly and without leaks.
Tips for Rebuilding the dublin rotary unions
– Follow Manufacturer Guidelines: Always refer to the manufacturer’s manual or technical documentation for specific instructions and torque specifications.
– Use Genuine Parts: Using genuine Deublin replacement parts ensures compatibility and optimal performance.
– Proper Lubrication: Apply the correct lubricant to the seals and bearings before reassembly to ensure smooth operation.
– Regular Maintenance: Regular inspection and maintenance can help identify issues early and prevent unexpected failures.
Additional Resources
– Technical Support: If you encounter any issues during the rebuild process, consider contacting Deublin’s technical support for assistance.
– Training and Manuals: Deublin often provides detailed manuals and may offer training sessions for maintenance personnel.
By following these steps, you can effectively rebuild dublin rotary unions , ensuring it continues to perform reliably. If you have any specific questions or need further details, feel free to ask!