How to fix loose swivel joints?
Swivel joints are critical components in a wide range of applications, from office chairs and car seats to industrial machinery and baby strollers. Over time, these joints can loosen due to wear and tear, improper maintenance, or excessive force. A loose swivel joint not only compromises functionality but also poses safety risks. In this guide, we’ll explore the common causes of swivel joint loosening, provide step-by-step repair instructions to fix loose swivel joints, and share tips for preventive maintenance. Loose swivel joints pose significant challenges across industries, from aerospace engineering to consumer electronics. This definitive guide combines hands-on to fixing loose swivel joints with cutting-edge industry trends, ensuring comprehensive coverage for both DIY enthusiasts and professionals.
1. What is a Swivel Joint
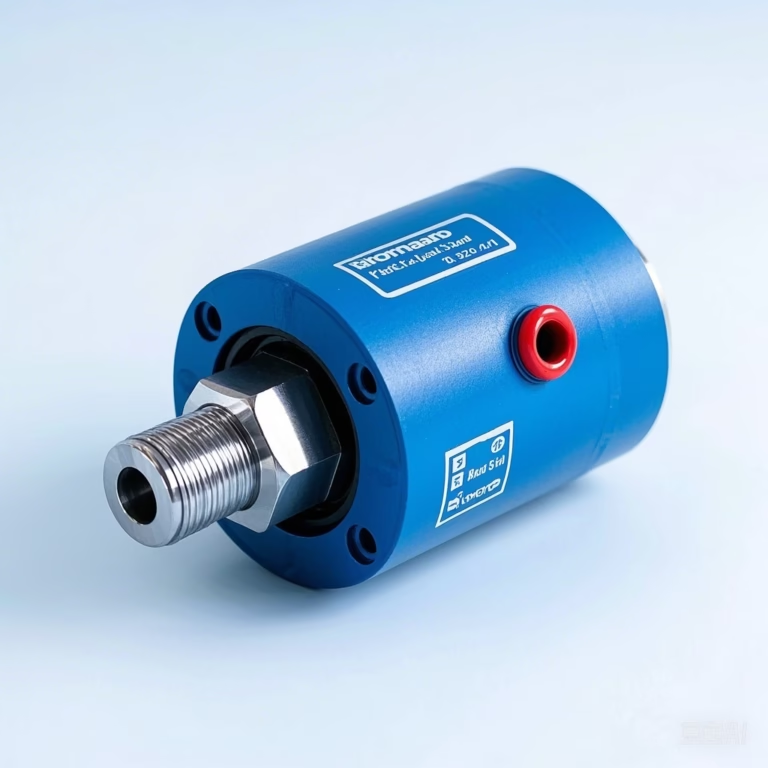
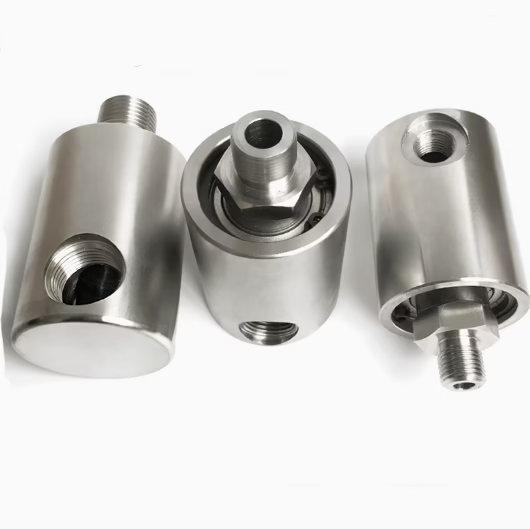
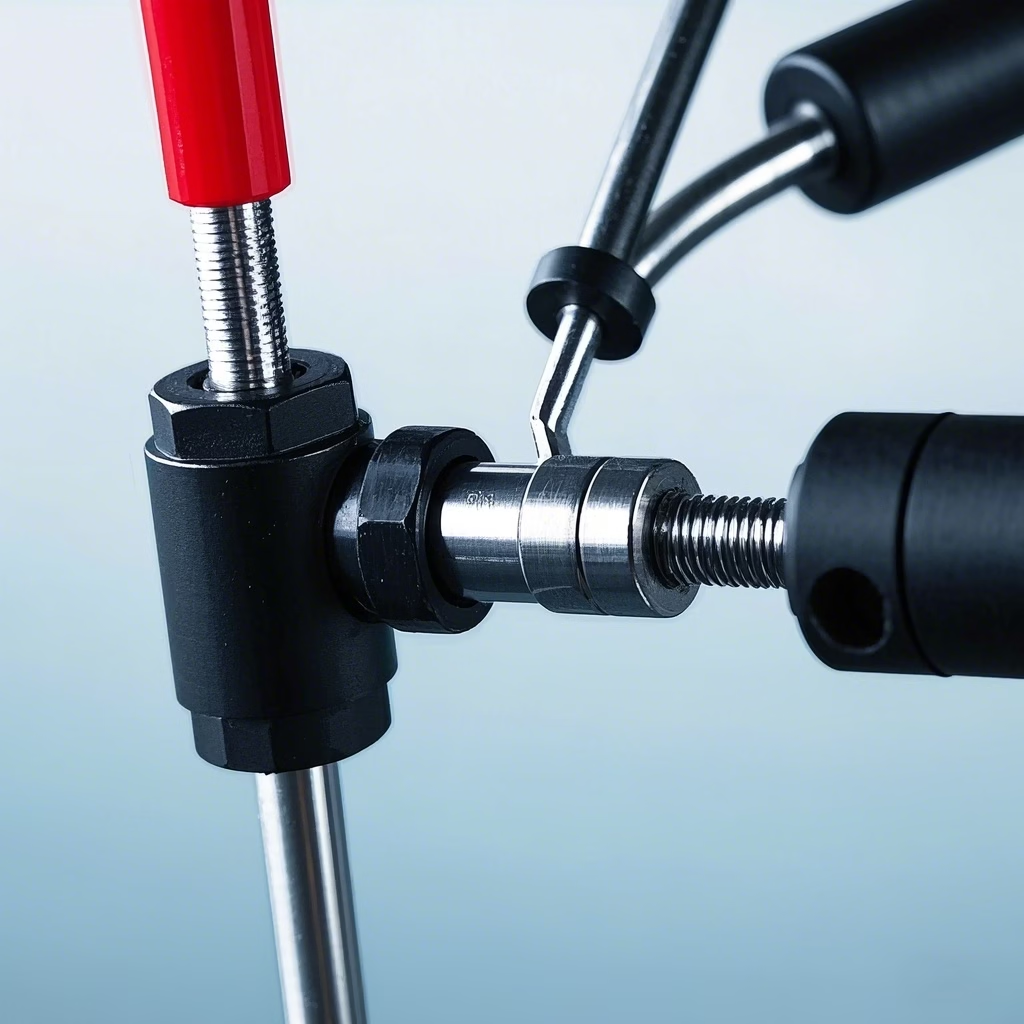
Anatomy and Function Before diving into repairs, let’s briefly review the anatomy of a typical swivel joint. A swivel joint consists of the following:
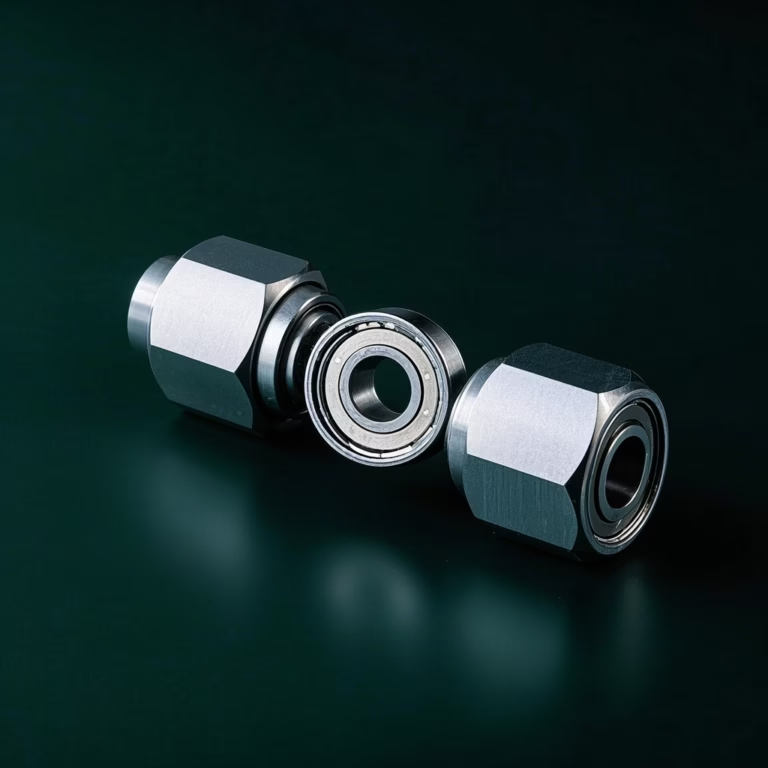
Inner and Outer Races: These are the rotating parts of the joint, often made of steel or aluminum.
Balls or Rollers: These spherical or cylindrical elements allow smooth rotation between the races.
Retainer: Holds the balls/rollers in place and maintains proper spacing.
Seal: Prevents debris ingress and lubricant leakage.
Lubricant: Reduces friction and wear.
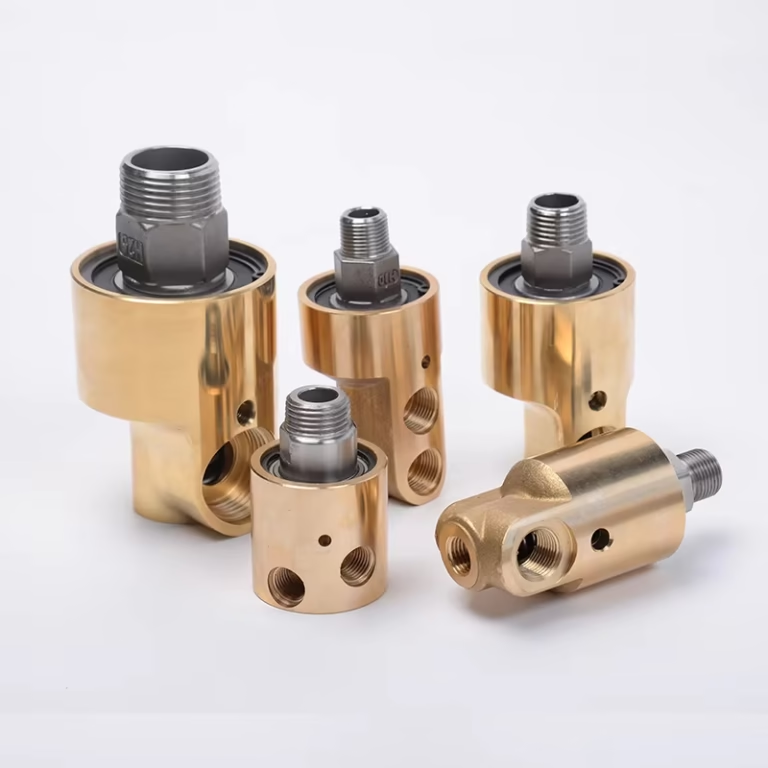
Swivel joints enable rotational movement while transmitting torque, making them essential in hinges, steering mechanisms, and adjustable furniture.
2. Swivel Joint Mechanics
Swivel joints allow rotation between two connected parts. They’re commonly found in office chairs, bar stools, furniture, toys, and various mechanical devices. These joints typically consist of a peg fitting into a hole or a ball rotating within a socket, with friction between the surfaces maintaining the desired positioning.
Loose swivel joints occur when this friction decreases over time. This happens due to several factors: wear from repeated use, material degradation, manufacturing defects, or damage from excessive force. Understanding how swivel joints work is crucial to fixing loose swivel joints for your specific situation.
The primary issue with loose joints is insufficient friction where connection points meet. Most repair methods involve increasing this friction by adding material to create a tighter fit, applying substances that increase resistance, or implementing mechanical solutions that restrict movement.
3. Causes of Swivel Joint Loosening
Several factors contribute to swivel joint loosening:
Wear and Tear: Prolonged use without maintenance leads to material degradation.
Lack of Lubrication: Dry joints experience increased friction, accelerating wear. Over-Tightening: Excessive force during assembly can distort components. Debris Ingress: Dirt and moisture ingress disrupt lubrication and cause corrosion.
Manufacturing Defects: Rare but possible, especially in low-quality joints.
How to fix loose swivel joints
1. Tools and Materials Needed
To fix loose swivel joints, gather the following:
Hex Keys/Allen Wrenches: For disassembling screws.
Screwdrivers: Flathead or Phillips, depending on the joint.
Pliers/Wrenches: For gripping and tightening nuts/bolts.
Cleaning Supplies: Degreaser, brushes, and microfiber cloths.
Lubricants: Silicone-based grease, lithium grease, or WD-40 (avoid petroleum-based products for plastic joints).
Replacement Parts: Seals, balls, retainers (if damaged).
Safety Gear: Gloves and goggles to protect against debris and chemicals.
2. Quick DIY solutions to fix loose swivel joints
2.1 Adhesive-Based Methods
Several adhesive products can effectively tighten loose swivel joints while maintaining mobility:
Superglue (Cyanoacrylate) Technique
Superglue is versatile for joint tightening across many applications. For optimal results:
Disassemble the joint if possible
Clean both surfaces thoroughly with alcohol
Apply a very thin layer of superglue to the peg or male portion of the joint
Let it dry completely (1-3 minutes)
Apply additional thin coats as needed, testing fit between applications
Reassemble when the desired tightness is achieved
This method creates a microscopic layer that increases friction without permanently bonding the parts. For larger joints, you may need 1-3 coats to achieve the desired tightness.
2.2 Clear Nail Polish Application
Clear nail polish is especially effective for plastic joints:
Disassemble the joint or access the connection point
Clean the surfaces thoroughly
Apply a thin coat of clear nail polish to the male portion of the joint
Allow to partially dry (about 2 minutes)
Reassemble the joint
The nail polish creates a slightly tacky surface that increases friction. This method works particularly well for action figure joints and small furniture connections. It’s less permanent than superglue, making it ideal for items that may need future adjustments.
2.3 White School Glue Method
For a gentler, completely reversible solution:
Apply a small amount of white school glue to the joint
Insert the joint into its socket before the glue dries
Wipe away excess glue immediately
Allow to dry for 20-30 minutes
This method is harmless to most materials and creates enough friction to stabilize loose joints without permanent modification. It’s particularly suitable for children’s toys and valuable collectibles.
2.4 Mechanical Solutions
When adhesives aren’t appropriate, mechanical approaches can provide more structural solutions:
2.5 The Hose Clamp and Splint Method
This technique works excellently for office chair swivel mechanisms:
Obtain one or two hose clamps and a wooden “splint” (a piece of thin wood or plastic)
Attach the splint to the chair cylinder shaft using the hose clamps
Use another hose clamp to attach a bracket that rotates with the base
Connect these components with a wood screw
This creates a mechanical link that prevents unwanted rotation while maintaining structural integrity. It’s particularly effective for office chairs that swivel too easily.
2.6 Bungee Cord and Restraint Techniques
For a quick, non-permanent solution:
Attach bungee cords from the seat of the chair (at the arms or back) to the base
Adjust tension to restrict but not completely prevent movement
Secure attachments so they don’t interfere with other chair functions
While somewhat “ghetto” in appearance, this approach is highly effective and completely reversible. Some users report that implementing temporary fixes may even convince employers to approve purchasing new equipment.
3. Step-by-Step Repair Guide to fix loose swivel joints
3.1 Diagnose the Issue
Identify the Type of Swivel Joint: Office chair, automotive, or industrial? This determines the repair approach.
Check for Play: Gently rotate the joint; excessive play indicates looseness. Listen for Noise: Grinding or clicking sounds suggest worn components.
3.2 Prepare the Workspace
Clear the Area: Ensure ample space for disassembly.
Lay Down a Mat: Protect floors from spills and dropped parts.
3.3 Disassemble the Joint
Remove Fasteners: Use hex keys or screwdrivers to take apart the joint. Document the Process: Take photos or notes to aid in reassembly.
Handle Components Carefully: Avoid scratching or dropping parts.
3.4 Clean the Joint
Degrease Components: Apply degreaser and scrub with a brush to remove old lubricant and debris.
Rinse Thoroughly: Use a solvent-resistant cloth to wipe away residue.
Inspect for Damage: Check races, balls, and seals for cracks, pitting, or wear.
3.5 Lubricate and Reassemble
Apply Lubricant: Coat races and balls with a thin layer of silicone-based grease. Avoid over-lubrication, which attracts dirt.
Replace Seals: Install new seals if the old ones are cracked or worn.
Reinsert Components: Carefully place balls/rollers and retainers into their grooves.
Tighten Fasteners: Use a torque wrench if available to avoid over-tightening.
3.6 Test the Joint
Rotate Smoothly: Check for resistance and noise.
Adjust Tension: If needed, tighten or loosen fasteners incrementally.
3.7 Post-Repair Maintenance
Regular Cleaning: Wipe away debris after heavy use.
Periodic Lubrication: Reapply lubricant every 6–12 months, depending on usage.
Avoid Overloading: Do not exceed the joint’s weight or torque capacity.
Preventive Maintenance Tips Schedule Inspections: Check swivel joints monthly for signs of wear. Use Quality Lubricants: Opt for high-performance greases designed for rotating components.
Train Users: Educate employees or family members on proper usage (e.g., avoiding excessive force).
Store Properly: Keep equipment in dry, cool environments to prevent corrosion.
Troubleshooting Common Issues: Joint Still Loose After Repair: Check for missing components (e.g., washers, spacers). Ensure seals are correctly seated.
Lubricant Leakage: Replace damaged seals. Avoid over-lubrication.
Stiff Rotation: Clean and re-lubricate the joint. Check for debris buildup.
Preventing joint loosening is easier than repairing it
Inspect swivel mechanisms regularly for signs of wear
Clean joints to remove dust and debris that can accelerate wear
Tighten any visible screws or fasteners before they become problematic.
Apply appropriate lubricants only to joints designed to be lubricated.
Preventive maintenance extends the lifespan of swivel mechanisms and maintains optimal performance throughout the life of the item.
3.8 Weight and Usage Considerations
Understanding proper use prevents premature loosening.
Observe weight limits for all furniture with swivel components.
Avoid putting lateral pressure on swivel mechanisms.
Distribute weight evenly when possible.
Consider usage patterns and choose appropriate joint types for high-use items.
These practices significantly reduce the rate at which swivel joints loosen, potentially eliminating the need for repairs.
3.9 Material-Specific Joint Solutions
Metal Joint Repair
Metal swivel joints present unique challenges and opportunities:
For threaded connections, use thread-locking compounds of appropriate strength
Smooth metal surfaces, consider metal-specific epoxies or cold welding compounds.
Minor adjustments, metal shims can be inserted to take up slack.
The advantage of metal joints is their durability after repair, often becoming stronger than their original configuration when properly fixed.
Plastic Joint Considerations
Plastic joints require gentler approaches:
Avoid acetone-based products that can damage plastic.
Test any adhesive on an inconspicuous area first.
Consider heat-based approaches for thermoplastics (carefully applying heat to reshape the joint)
Use plastic-compatible adhesives like model cement for permanent repairs.
Plastic joints often benefit from the nail polish or floor polish methods mentioned earlier, as these products bond well with most plastics without causing damage.
FAQ
Q1: Can I use super glue to fix loose swivel joints?
A1: No. Super glue is not designed for mechanical stress. Use a thread locker or epoxy instead.
Q2: How often should swivel joints be lubricated?
A2: Every 3–6 months, or as recommended by the manufacturer.
Q3: What causes swivel joints to loosen over time?
A3: Wear and tear, insufficient lubrication, or excessive load.
Q4: Can I use a torque wrench to tighten swivel joints?
A4: Yes, follow the manufacturer’s torque specs. Use a thread locker for high-vibration applications.
Q5: What’s the difference between a swivel joint and a cardan joint?
A5: Swivel joints allow 360° rotation, while cardan joints handle angular misalignment.
Q6: How much does professional swivel joint repair cost?
A6: $150-$500 on average, depending on complexity and industry.
Q7: Can I use WD-40 as a long-term lubricant for swivel joints?
A7: WD-40 is a penetrant, not a lubricant. While it can loosen rusted joints, use a silicone-based grease for long-term protection.
Q8: How often should I replace swivel joint seals?
A8: Seals typically last 2–3 years under normal conditions. Replace them if you notice cracks, leaks, or reduced lubrication retention.
Q9: What’s the best way to clean a swivel joint?
A9: Use a degreaser and a soft-bristle brush to avoid scratching surfaces. Rinse with a lint-free cloth and let dry completely before lubrication.
Q10: Can I repair a swivel joint without disassembling it?
A10: For minor looseness, try tightening fasteners and applying lubricant. However, disassembly is often necessary for thorough cleaning and component replacement.
Q11: Are there eco-friendly lubricants for swivel joints?
A11: Yes, biodegradable greases made from vegetable oil or synthetic esters are available. Check compatibility with your joint’s materials before use.
Conclusion
Fixing loose swivel joints doesn’t require advanced technical skills or expensive tools. With the techniques outlined in this guide, from simple adhesive applications to more involved mechanical solutions, most swivel joint issues can be successfully addressed at home.
The key to successful repair lies in correctly identifying the joint type, understanding the underlying cause of looseness, and applying the appropriate solution with patience and precision. Start with the least invasive methods before progressing to more permanent solutions.
Remember that preventative maintenance is the best approach to joint longevity. Regular inspection, appropriate use, and prompt attention to minor issues will extend the life of your swivel mechanisms and reduce the need for major repairs.
Whether you’re fixing an office chair that won’t stay put, restoring articulation to a collectible figure, or stabilizing furniture with loose connections, these techniques provide practical, tested solutions that restore functionality and extend the useful life of your items.
By addressing swivel joint issues promptly and proactively, you’ll ensure reliable performance across diverse applications. Stay safe, stay informed, and keep your swivels spinning smoothly! Mastering swivel joint repair requires a blend of technical expertise and strategic maintenance. By leveraging the insights in this guide, you can minimize downtime, reduce costs, and stay ahead of industry trends.