How to add a swivel joint?
How to Add a Swivel Joint: A Comprehensive Guide
Introduction
Adding a swivel joint to a system is a task that demands precision and attention to detail. Swivel joints play a crucial role in various applications, allowing for the transfer of fluids, gases, or power while enabling rotational movement. Whether you’re working on a hydraulic system, an industrial machine, or a DIY project, a proper installation ensures optimal performance, safety, and longevity. In this detailed blog post, we will walk you through the step-by-step process of adding a swivel joint, covering everything from gathering the necessary tools and materials to testing the installation and addressing special considerations.
Gather the Necessary Tools and Materials
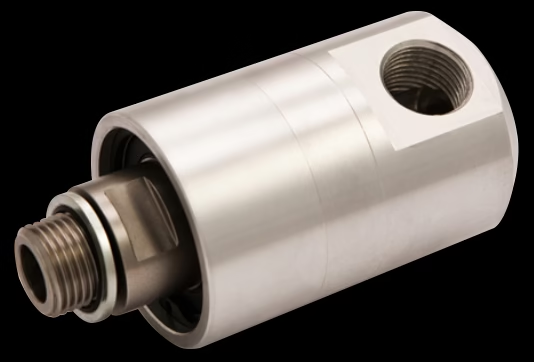
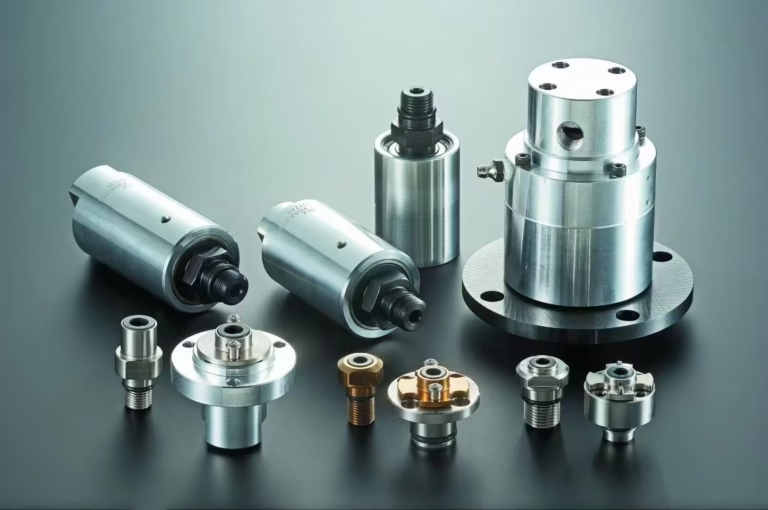
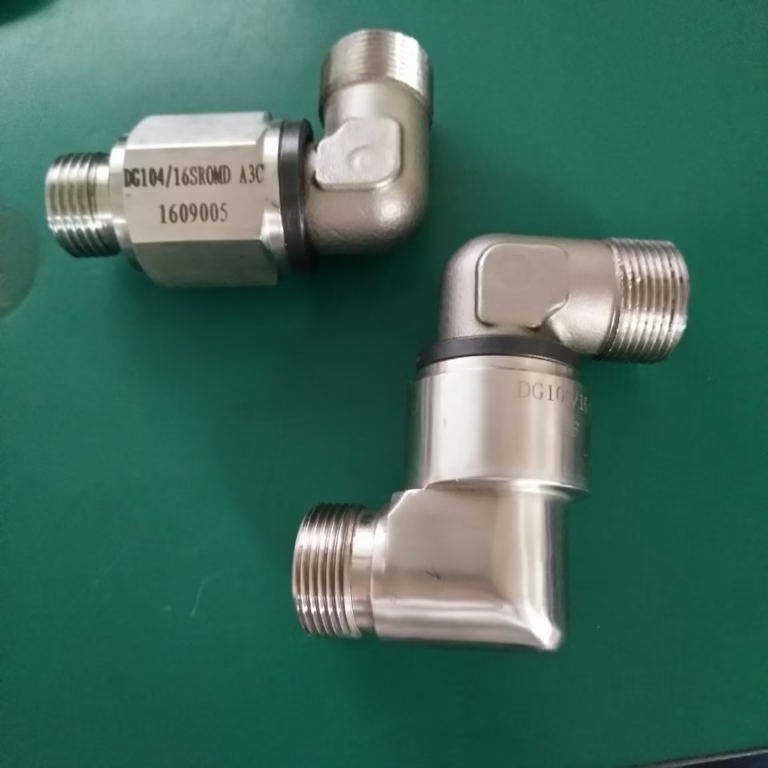
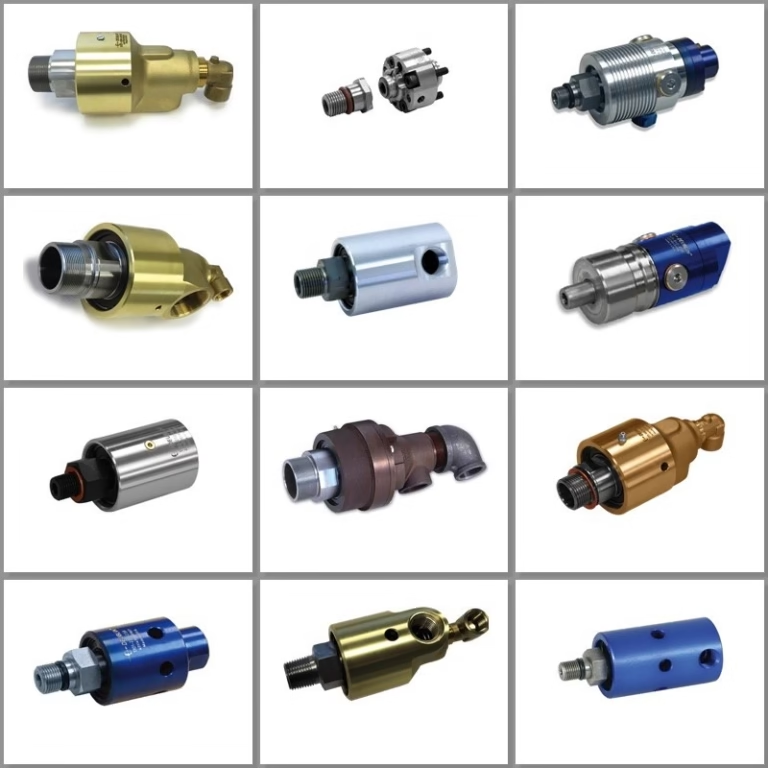
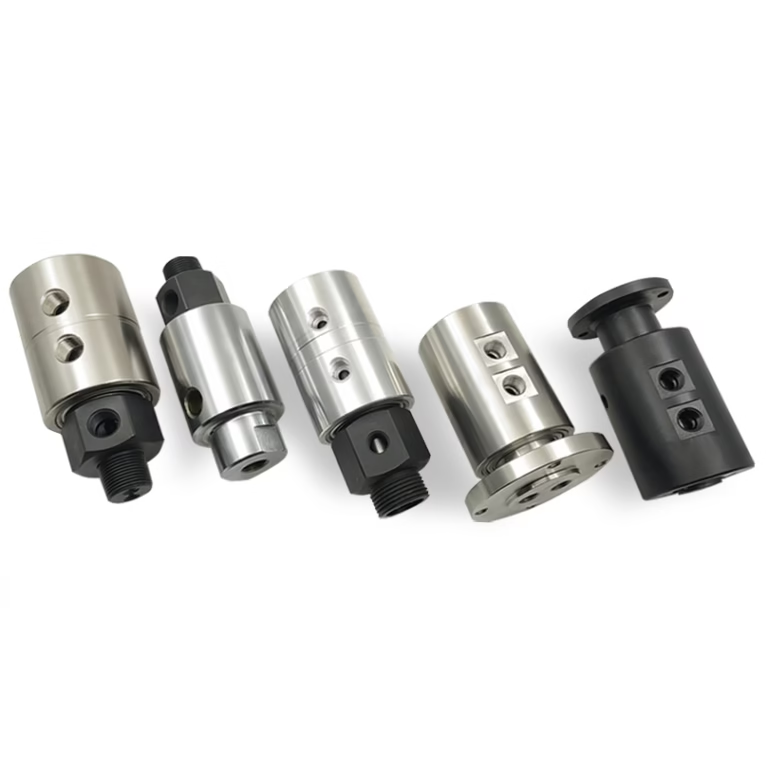
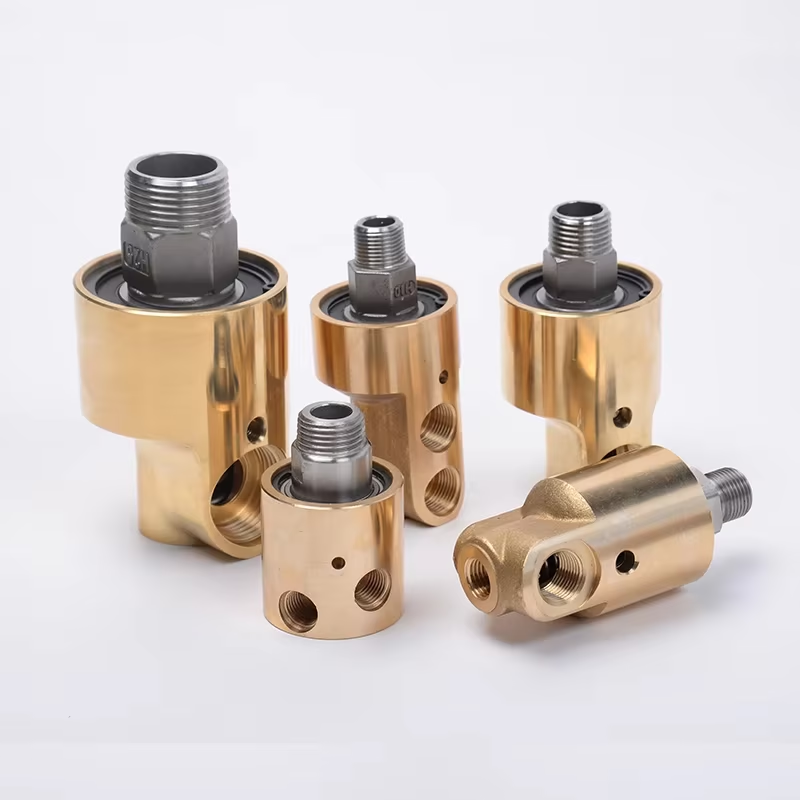
1.1 Swivel Joint Selection
The first and foremost step is to ensure you have the correct type and size of the swivel joint for your specific application. Consider factors such as the fluid or gas being transferred (e.g., hydraulic oil, water, air), the operating pressure and temperature, the rotational speed, and the required range of motion. Different types of swivel joints are designed for other purposes, such as single-channel or multi-channel joints, high-pressure or low-pressure joints, and those with specific sealing materials to handle corrosive substances.
1.2 Tools
Wrenches:
A set of adjustable wrenches or socket wrenches will be essential for tightening and loosening nuts and bolts. The size of the wrenches should match the fasteners used in the swivel joint installation.
Screwdrivers:
Depending on the design of the swivel joint and the components it connects to, you may need flathead and Phillips screwdrivers. They are useful for removing or installing screws that hold parts together or secure covers.
Allen Keys:
Also known as hex keys, these are used to tighten or loosen Allen screws, which are commonly found in some swivel joint designs.
Pliers:
Needle-nose pliers can be handy for gripping small parts, such as seals or O-rings, during installation. Slip-joint pliers can be used for larger components that require a firm grip.
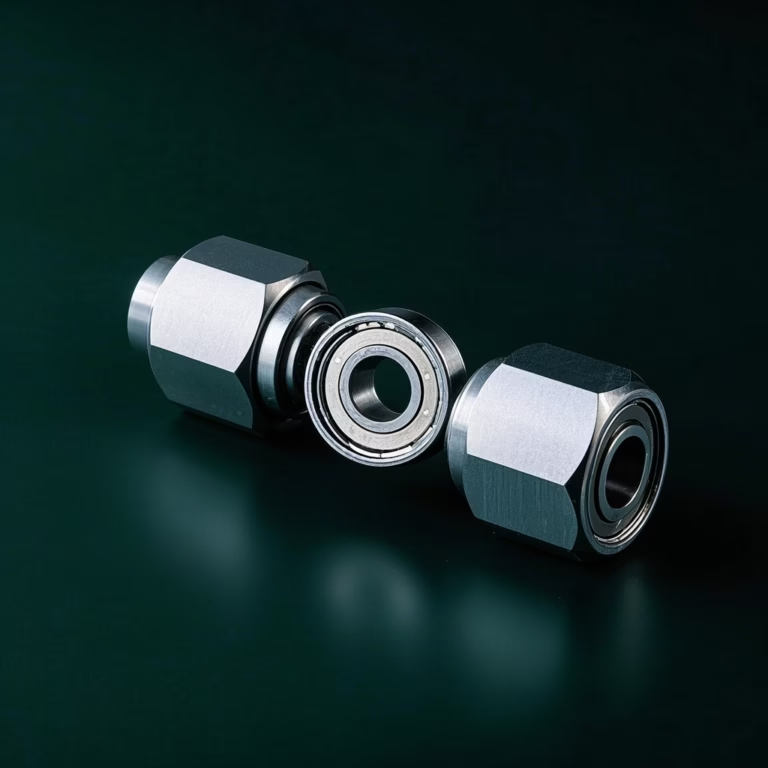
1.3 Seals and O-rings
If your swivel joint requires seals or O-rings to prevent leaks, make sure you have the appropriate ones. The material of the seals should be compatible with the fluid or gas being transferred. For example, if you’re working with hydraulic oil, choose seals made of materials like nitrile rubber, which has good resistance to oil. Viton seals are suitable for applications involving aggressive chemicals or high temperatures.
1.4 Lubricants
Using the right lubricant is crucial for the smooth operation of the swivel joint. Grease is a common lubricant for swivel joints. Select a grease that is recommended by the swivel joint manufacturer. It should have properties such as good adhesion, high load-carrying capacity, and resistance to water and extreme temperatures, depending on the application environment.
1.5 Protective Equipment
Gloves:
Wear work gloves to protect your hands from cuts, abrasions, and contact with potentially harmful substances such as chemicals in the fluid being transferred or lubricants.
Safety Glasses:
Safety glasses are essential to shield your eyes from any flying debris during the installation process, such as small parts that may come loose while tightening or loosening components.
Prepare the Components
2.1 Clean Surfaces
Before installing the swivel joint, it is imperative to clean all the surfaces that will come into contact with it. Use a suitable cleaner to remove dirt, debris, rust, and old sealants. For metal surfaces, a degreaser or a solvent-based cleaner can be effective. If the components have been in storage for a long time, they may have accumulated dust or corrosion, which can affect the performance of the swivel joint. A clean surface ensures a proper seal and reduces the risk of leaks.
2.2 Inspect Parts
Thoroughly inspect both the swivel joint and the components it will be connected to. Look for any signs of damage, such as cracks, dents, or wear on the threads. Check the condition of the seals and O-rings on the swivel joint. If there are any signs of deformation, cuts, or hardening, replace them. On the mating parts, inspect the flanges, ports, or connection points for any irregularities. Any damage or wear could lead to improper alignment, leaks, or reduced performance of the swivel joint.
Position the Swivel Joint
3.1 Alignment
Carefully position the swivel joint in the intended location. Ensure that it aligns properly with the mating parts. Use alignment tools such as straightedges or alignment pins if available. Proper alignment is crucial for the smooth rotation of the swivel joint and to prevent undue stress on the joint. If the swivel joint is misaligned, it can cause uneven wear on the seals, increased friction, and potentially lead to premature failure.
3.2 Orientation
Determine the correct orientation of the swivel joint based on the desired range of motion and fluid transfer requirements. Some swivel joints have specific markings or features that indicate the correct orientation. For example, if the swivel joint is used to transfer fluid, make sure the inlet and outlet ports are oriented correctly to allow for proper flow. The orientation should also be such that it enables the required rotational movement without interfering with other components in the system.
Install Seals and Bearings
4.1 Insert Seals
If your swivel joint uses seals or O-rings, insert them into their respective grooves or positions with great care. Ensure that they are seated properly and are not twisted or pinched. A misaligned or damaged seal can result in leaks, which can be costly and potentially dangerous, especially in systems handling high-pressure fluids or gases. Use a lubricant sparingly on the seals to ease the installation process, but be careful not to use too much, as it could attract dirt and debris.
4.2 Install Bearings
For swivel joints that incorporate bearings, follow the manufacturer’s instructions precisely for installation. Bearings should fit snugly within their housings but still allow for free rotation. Use a bearing installation tool if necessary to ensure that the bearings are installed evenly and without damage. Improperly installed bearings can cause excessive noise, vibration, and reduced efficiency of the swivel joint.
Secure the Joint
5.1 Threaded Connections
If the swivel joint has threaded ends, carefully screw it into place using the appropriate wrench. Start by hand to ensure that the threads engage properly, and then use the wrench to tighten it until it is secure. However, be cautious not to over-tighten, as this can strip the threads or damage the seals. Over-tightening can also put unnecessary stress on the swivel joint and the connected components, leading to premature failure.
5.2 Bolted Connections
For bolted connections, place the swivel joint in position and insert the bolts through the holes in the flanges or connection points. Use nuts to secure the bolts. If specified by the manufacturer, use a torque wrench to tighten the bolts to the recommended torque value. Torque values are provided to ensure that the connection is tight enough to prevent leaks and movement but not so tight as to cause damage. Tighten the bolts in a criss-cross pattern to ensure even distribution of the clamping force.
5.3 Clamps or Fittings
In some applications, clamps or specialized fittings may be used to secure the swivel joint. Make sure these are properly sized and installed according to the manufacturer’s guidelines. Clamps should be tightened evenly to provide a secure and leak-proof connection. Specialized fittings may require specific installation procedures, such as using a particular tool or applying a certain amount of pressure during installation.
Apply Lubrication
6.1 Grease or Oil Application
Once the swivel joint is securely installed, apply the chosen lubricant to the moving parts. This includes the rotating surfaces, bearings, and any other areas where friction may occur. Use a grease gun to inject grease into the grease fittings, if available. If using oil, carefully pour or apply it to the relevant parts. The lubricant helps to reduce friction, which in turn extends the life of the swivel joint, reduces wear and tear, and improves its overall performance.
Test the Installation
7.1 Check Movement
Slowly move the swivel joint through its full range of motion. Observe whether it operates smoothly and freely. There should be no binding, excessive resistance, or unusual noises. If you feel or hear any issues, stop immediately and investigate the cause. Binding could be due to misalignment, a damaged bearing, or a problem with the seals. Resolving these issues before further use is essential to prevent damage to the swivel joint and the system it is part of.
7.2 Inspect for Leaks
If the swivel joint is part of a fluid or gas transfer system, carefully inspect for any leaks around the seals and connections. Use a leak detection solution or simply visually check for any signs of fluid or gas escaping. If leaks are detected, mark the location and take appropriate action. In some cases, a minor leak may be fixed by tightening the connection further, but if the leak persists, it could indicate a problem with the seal, which may need to be replaced.
Final Adjustments and Safety Checks
8.1 Torque Recheck
After testing the movement and checking for leaks, double-check the torque on all the fasteners. Use a torque wrench to ensure that they still meet the manufacturer’s specifications. During the testing process, vibrations or movement may have caused the fasteners to loosen slightly. Re-tightening them to the correct torque value helps to maintain the integrity of the installation.
8.2 Secure Loose Parts
Make sure that all loose parts, such as protective boots, covers, or shields, are properly installed. These parts are often designed to protect the swivel joint from dirt, debris, and environmental factors. They also may serve as safety features to prevent accidental contact with moving parts. Ensure that they are in place and securely fastened.
8.3 Safety Inspection
Verify that the entire installation complies with all relevant safety standards and guidelines specific to your application. This may include checking for proper grounding if the swivel joint is part of an electrical system, ensuring that there are no exposed parts that could pose a hazard, and confirming that the installation does not interfere with emergency shutdown mechanisms. Safety should always be a top priority in any installation process.
Documentation
9.1 Record Details
Document all the details of the installation for future reference and maintenance. Include information such as the type and model of the joint used, its serial number, the date of installation, and any adjustments or modifications made during the installation process. Also, note down the torque values used for the fasteners and the type of lubricant applied. This information will be invaluable when it comes to performing maintenance, troubleshooting problems, or replacing the swivel joint in the future.
Special Considerations
10.1 Environmental Factors
High Temperatures:
If the swivel joint will operate in high-temperature environments, choose a swivel joint made of materials that can withstand the heat. For example, stainless steel is a good choice as it has high-temperature resistance. Additionally, use seals and lubricants that are rated for high temperatures. Some seals may degrade or lose their effectiveness at elevated temperatures, leading to leaks.
Corrosive Atmospheres:
In corrosive environments, such as those with exposure to chemicals or saltwater, select a joint with appropriate corrosion-resistant coatings or materials. For instance, joints made of materials like Hastelloy or titanium are highly resistant to corrosion. Regularly inspect the swivel joint for any signs of corrosion and take preventive measures such as applying protective coatings or using corrosion inhibitors in the fluid being transferred.
10.2 Load Capacity
Ensure that the swivel joint you select has the appropriate load capacity for the application. This includes both the static and dynamic loads that it will be subjected to. Overloading the swivel joint can cause premature wear, and damage to the bearings and seals, and ultimately lead to failure. Calculate the expected loads based on factors such as the weight of the rotating components, the forces exerted by the fluid or gas being transferred, and any external forces acting on the system.
10.3 Maintenance Requirements
Familiarize yourself with the manufacturer’s recommendations for periodic maintenance of the joint. This may include re-lubrication intervals, inspection schedules, and seal replacement intervals. Regular maintenance is essential to keep the swivel joint in optimal working condition and to prevent unexpected failures. Create a maintenance schedule and stick to it to ensure the longevity and reliable performance of the swivel joint.
Conclusion
Adding a rotary joint to a system is a complex but manageable task when you follow the proper procedures. By carefully gathering the necessary tools and materials, preparing the components, positioning and installing the swivel joint correctly, applying lubrication, testing the installation, and addressing special considerations, you can ensure that the swivel joint functions safely and effectively in its intended application. Remember to document all the details of the installation and perform regular maintenance to keep the joint in good working order. With attention to detail and adherence to best practices, you can successfully add a swivel joint that will provide reliable service for years to come.