
How to Install a Rotary Joint: Expert Instruction & Tips
In the world of industrial machinery and equipment, rotary joints play a crucial role. They are essential components that enable the transfer of fluids or gases between stationary and rotating parts. Whether it’s in a printing press, a textile machine, or a food processing plant, a proper rotary joint installation instruction ensures smooth operation, reduces downtime, and extends the lifespan of the equipment. In this blog post, we will walk you through the step-by-step process to install a rotary joint, along with some important considerations and tips.
What is a Rotary Joint
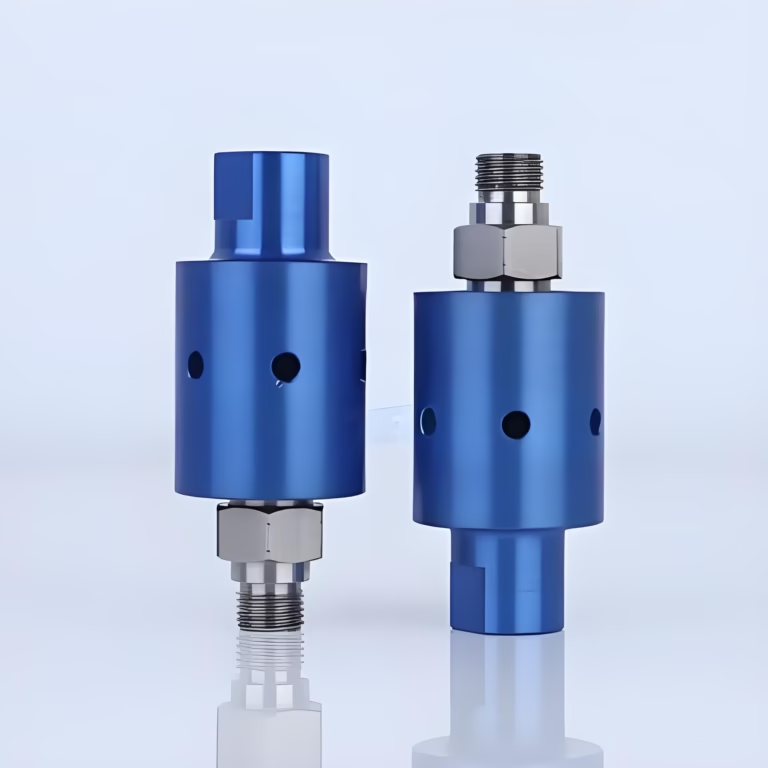
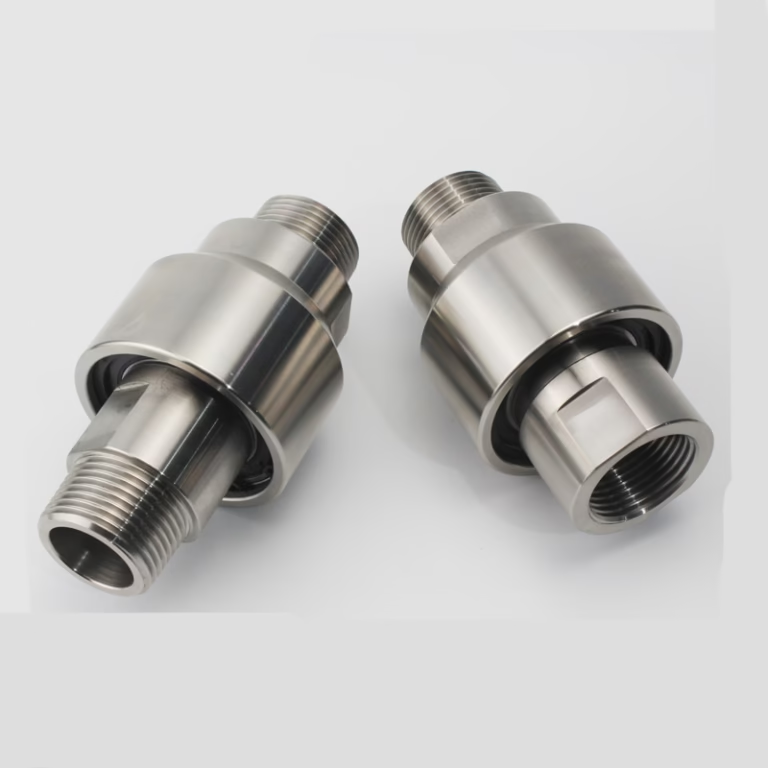
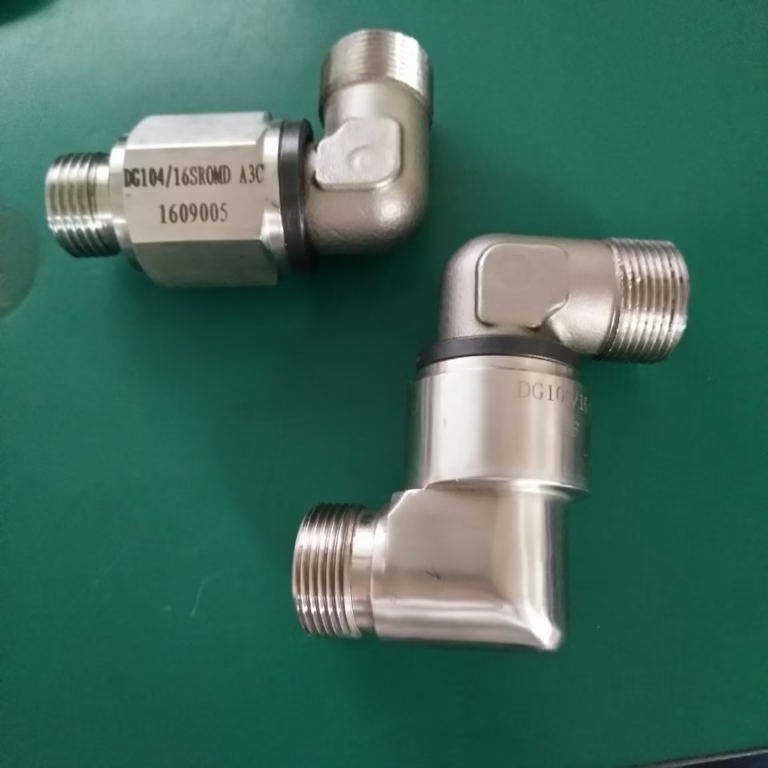
Before we dive into the installation process, let’s briefly understand what rotary joints are and how they work. Rotary joints (also known as rotary unions or swivel joints) are indispensable components in machinery requiring the transfer of fluids, gases, or electrical signals between stationary and rotating systems. It is a mechanical device that allows the connection of a stationary fluid source to a rotating piece of equipment. It consists of a stationary housing and a rotating shaft or spindle. The housing contains seals and bearings that prevent leakage of the fluid or gas being transferred and support the rotation of the shaft. Proper installation is critical to ensure leak-free operation, longevity, and efficiency. This guide provides a comprehensive walkthrough of rotary joint installation, incorporating technical best practices, common pitfalls to avoid, and maintenance strategies.
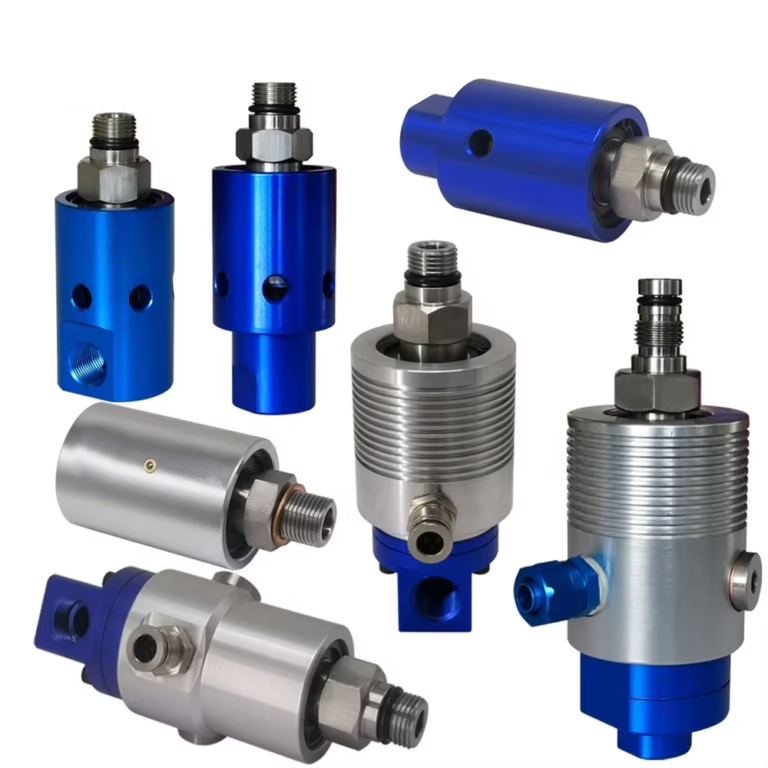
Understanding the types of Rotary Joint
There are different types of rotary joints available, depending on the application requirements. Some common types include single-channel rotary joints, which are used for transferring a single fluid or gas, and multi-channel rotary joints, which can handle multiple fluids or gases simultaneously. The choice of the rotary joint depends on factors such as the type of fluid, pressure, temperature, and rotational speed. Before installation, confirm the rotary joint’s design specifications, including:
1. Media Compatibility
Ensure the joint is rated for the fluid or gas being transferred (e.g., water, steam, hydraulic oil, or compressed air).
2. Pressure and Temperature Limits
Standard models typically handle up to 1.5 MPa and 200°C, but high-performance variants may exceed these thresholds.
3. Seal Material
Options like graphite, silicon carbide, or bronze are selected based on abrasion resistance and thermal stability.
For example, the HD/HD-F series rotary joint from China-based manufacturers emphasizes compact design and balanced sealing structures, ideal for cooling systems.
Rotary Joint Installation Instruction
Step 1: Preparation
The first and most important step in Rotary Joint Installation Instruction is proper preparation. Before you begin the installation process, it’s essential to prepare both the rotary joint and the installation environment. This includes gathering all the necessary tools and equipment, as well as ensuring that the work area is clean and safe. Some of the tools you may need include wrenches, screwdrivers, pliers, and a torque wrench.
Inspect Components
Check for shipping damage, misaligned seals, or debris in fluid pathways. Clean internal channels using lint-free cloths and compatible solvents.
Verify Alignment Tools
Use dial indicators or laser alignment tools to measure shaft runout and concentricity. Misalignment exceeding 0.1 mm can accelerate wear.
Review Manufacturer Guidelines
Follow torque specifications for flange bolts and mounting brackets to avoid warping the housing.
Cleanliness: Ensure that the roller and pipe interior where the rotary joint will be installed are clean. Any debris or contaminants can cause premature wear and tear on the rotary joint. You may consider adding a filter based on your specific use case to prevent wear from foreign objects.
Handling: Handle the rotary joint with care to prevent damage from impact or shock. Lightly lift and place the rotary joint to avoid any damage or deformation.
You also need to carefully inspect the rotary joint and all its components for any signs of damage or defects. Check the seals, bearings, and housing for any cracks, leaks, or wear. If you notice any issues, it’s important to replace the damaged components before proceeding with the installation.
Another crucial aspect of preparation is to read and understand the manufacturer’s rotary joint installation instruction. Each rotary joint may have specific installation requirements, and following the instructions carefully will help ensure a successful installation.
Step 2: Mounting the Stationary Housing
The next step is to mount the stationary housing of the rotary joint. The housing is usually bolted or flanged to a stationary support structure. Make sure that the support structure is strong enough to withstand the forces exerted by the rotating shaft and the fluid or gas being transferred.
Before mounting the housing, clean the mounting surface to remove any dirt, debris, or grease. This will help ensure a good seal and a secure connection. Use the appropriate bolts or fasteners to attach the housing to the support structure, and tighten them to the recommended torque specifications.
Secure the Stationery Side
Attach the joint’s stationary end to fixed piping using flexible hoses or compensators to absorb vibrations. Avoid rigid connections that induce side loading.
Align Rotating and Stationary Parts
Ensure the rotating shaft and joint interface are coaxial. For multi-channel joints, verify that port orientations match the media flow requirements.
Torque Fasteners Gradually
Tighten flange bolts in a star pattern to 80% of the recommended torque (e.g., 25 N·m for M10 bolts), then recheck alignment before final tightening.
Step 3: Installing the Rotating Shaft
Once the stationary housing is mounted, it’s time to install the rotating shaft. The shaft is inserted into the housing through the appropriate opening. Make sure that the shaft is properly aligned with the housing and that the seals and bearings are in place.
Some rotary joints may require the use of a coupling to connect the rotating shaft to the driven equipment. If this is the case, follow the manufacturer’s instructions for installing the coupling. Align the coupling properly and tighten the bolts to the recommended torque.
Step 4: Connecting the Fluid or Gas Lines
After the shaft is installed, the next step is to connect the fluid or gas lines to the rotary joint. The lines are usually connected to the ports on the stationary housing. Make sure that the lines are properly sized and rated for the application.
Before connecting the lines, clean the ports and the ends of the lines to remove any dirt or debris. Use appropriate fittings and connectors to make the connections, and ensure that they are leak-tight. You may need to use a torque wrench to tighten the fittings to the recommended torque.
Step 5: Lubrication and Initial Run-In
Apply Lubricant
Use manufacturer-recommended grease on bearings and seals. Engineers often prefer silicone-based lubricants for high-temperature applications.
Run at Reduced Load
Operate the joint at 20–30% of maximum speed and pressure for 1–2 hours to allow seals to seat properly.
Step 6: Check for Leaks
Open the Valves
Slowly open the valves to the system and allow fluid to flow through the rotary union hydraulic.
Inspect for Leaks
Carefully inspect all connections for any signs of leaks. Pay particular attention to the seals and fittings.
Tighten as Needed
If you find any leaks, tighten the connections as needed. Do not overtighten, as this can damage the threads or seals.
Step 7:Install Rotary Joint Saling and Testing
Once all the components are installed and the fluid or gas lines are connected, it’s time to seal the rotary joint and test it for proper operation. The seals in the rotary joint are designed to prevent leakage of the fluid or gas being transferred. Make sure that the seals are properly installed and that they are in good condition.
To test the rotary joint, slowly introduce the fluid or gas into the system at a low pressure. Check for any leaks around the seals, connections, or housing. If you notice any leaks, stop the flow of the fluid or gas and tighten the fittings or replace the damaged seals as necessary.
Monitor Performance
Observe the joint for any unusual noises, vibrations, or movements. Check the fluid flow and pressure to ensure they are within the specified range.
After ensuring that there are no leaks, gradually increase the pressure to the operating level and check the performance of the rotary joint. Monitor the rotation of the shaft and make sure that it is smooth and free of any vibrations. Also, check the temperature of the rotary joint to ensure that it is within the normal operating range.
Step 8: Final Inspection and Documentation
Double-Check All Connections: Ensure all connections are secure and properly aligned.
Document the Installation: Record the installation date, the type of rotary union hydraulic used, and any other relevant information for future reference.
How Do You Install A Rotary Joint? Additional Tips
1. Follow Manufacturer Guidelines
Always refer to the manufacturer’s installation instructions and specifications.
2. Use the Right Tools
Ensure you have the correct tools for the job to avoid damaging the rotary union, hydraulic, or other components.
3. Gradual Temperature Increase
For rotary joints handling hot media, gradually increase the temperature to avoid thermal shock.
4. Avoid Long-Term Idle Operation
Prolonged idle operation can lead to scaling and rusting inside the rotary joint, which may cause sticking or leakage upon reuse.
5. Regular Maintenance
Schedule regular inspections and maintenance to ensure the rotary union hydraulic continues to perform reliably.
By following these steps, you can ensure that your rotary joint installation instructions are correct and safe, providing efficient and reliable fluid transfer in your system.
Common Installation Mistakes and Solutions
1. Over-Tightening Fasteners
Excessive torque distorts sealing surfaces, causing leaks. Use a calibrated torque wrench and follow the manufacturer’s limits.
2. Ignoring Thermal Expansion
In steam or hot oil systems, allow for axial movement using expansion joints or sliding mounts to prevent stress fractures.
3. Poor Filtration
Contaminants like rust particles or welding slag can scratch seal faces. Install dual-stage filtration and flush lines before startup.
4. Leakage Problems
Identify common causes of leakage and how to fix them.
Cause: Damaged seals, improper alignment.
Solution: Replace seals and realign components.
5. Vibration or Noise
Address issues related to vibration and how to mitigate them.
Cause: Bearing wear, imbalance.
Solution: Lubricate bearings and balance the rotor.
6. Overheating
Discuss overheating problems and cooling solutions.
Cause: Insufficient lubrication, high friction.
Solution: Add lubricant and reduce load.
7. Pressure Drop
Tips for diagnosing and resolving drops in performance.
Cause: Clogged passages, worn seals.
Solution: Clean channels and replace seals.
Post-Installation Maintenance and Monitoring
1. Routine Inspections
Check for leaks, abnormal noise, or increased rotational torque monthly. Replace seals if wear exceeds 0.5 mm.
2. Predictive Maintenance
Integrate sensors to monitor temperature, vibration, and pressure fluctuations. For example, a sudden drop in hydraulic pressure may indicate seal failure.
3. Lubrication Schedule
Reapply grease every 500–1,000 operating hours, or as specified by the joint’s duty cycle.
4. Case Study: Industrial Cooling System Retrofit
A steel mill upgraded its rotary joints using the HD-F series, which features Leicester seals and computer-simulated stress analysis. Post-installation, the mill reported a 40% reduction in downtime by:
4.1 Implementing laser alignment during installation.
4.2 Adding inline magnetic filters to capture ferrous debris.
4.3 Adopting quarterly thermal imaging to detect early-stage bearing wear.
Install Rotary Joint Maintenance and Troubleshooting
Proper maintenance of the rotary joint is essential to ensure its long-term performance and reliability. Regularly inspect the rotary joint for any signs of wear, leaks, or damage. Check the seals, bearings, and housing for any issues and replace the damaged components as needed.
Lubricate the bearings and other moving parts of the rotary joint according to the manufacturer’s recommendations. This will help reduce friction and wear and extend the lifespan of the components. Also, keep the work area clean and free of dirt and debris to prevent contamination of the rotary joint.
In case of any problems or malfunctions, it’s important to troubleshoot the issue promptly. Some common problems with rotary joints include leaks, excessive vibrations, and reduced performance. If you experience any of these issues, start by checking the seals, connections, and bearings. If the problem persists, consult the manufacturer’s troubleshooting guide or contact a qualified technician for assistance.
Conclusion
Rotary joint installation instructions may seem like a complex task, but by following the proper steps and taking the necessary precautions, you can ensure a successful installation. Remember to always read and follow the manufacturer’s rotary joint installation instructions, use the right tools and equipment, and perform regular maintenance and testing. By doing so, you can maximize the performance and lifespan of your rotary joint and keep your industrial equipment running smoothly.
So, the next time you are faced with the question of rotary joint installation instructions, you know exactly what to do. Follow this comprehensive guide, and you’ll be on your way to a seamless installation and trouble-free operation.