
How To Make A 2×4 Swivel Joint?
If you’re into woodworking or DIY projects, creating a 2×4 swivel joint can open up a world of possibilities. This versatile joint allows for rotation, making it useful in various applications such as building rotating tables, adjustable furniture, or even some types of machinery. In this comprehensive blog post, we’ll walk you through the entire process of making a 2×4 swivel joint, from understanding the basics to the actual construction.
Basics of a Swivel Joint
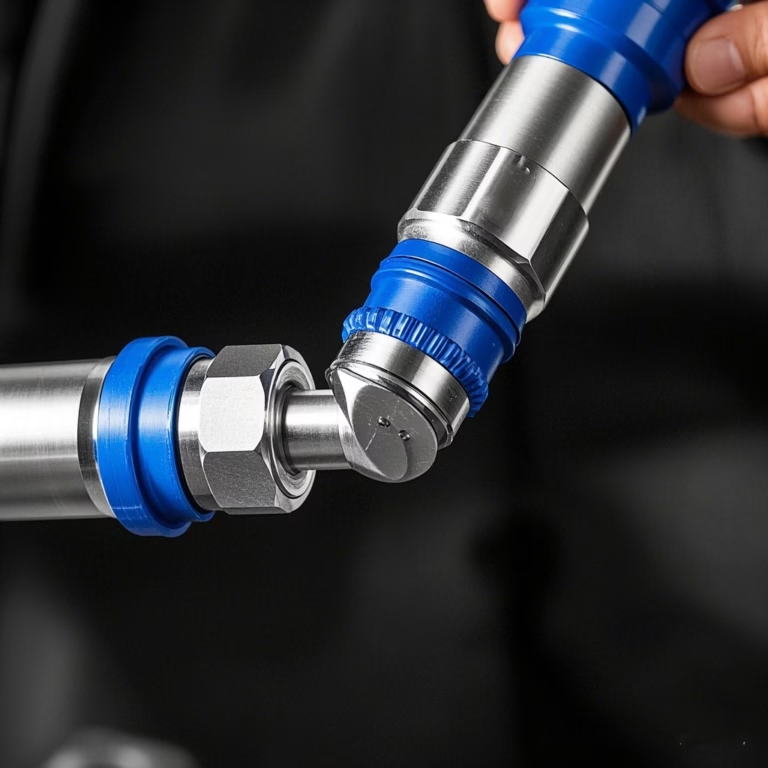
A swivel joint, at its core, is designed to enable two parts to rotate relative to each other around a central axis. In the context of using 2×4 lumber, it provides a sturdy and functional connection for projects where mobility is required. There are different types of swivel joints, but the one we’ll be focusing on is a simple yet effective design that can be made with common tools and materials.
Key Components
2×4 Lumber:
This is the main structural element. The 2×4 provides strength and stability to the joint. It’s important to choose good – quality lumber, free from knots and warping, especially if the joint will be under significant stress.
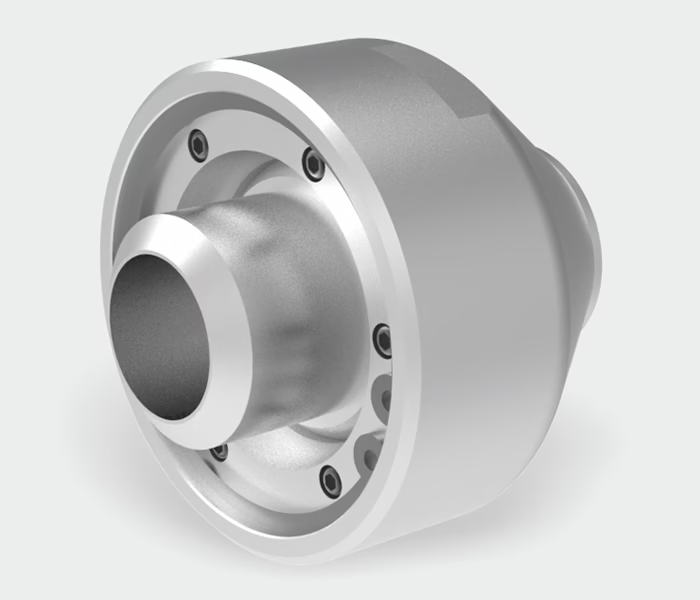
Bearings:
Bearings are crucial for smooth rotation. For a 2×4 swivel joint, ball bearings or sleeve bearings can be used. Ball bearings offer less friction and a more fluid rotation, while sleeve bearings are a bit simpler and may be more suitable for lighter-duty applications.
Hardware:
You’ll need bolts, nuts, washers, and possibly screws. Bolts are used to hold the joint together and allow for the rotation around the bearing. Washers help distribute the load and prevent the nuts from loosening, and screws can be used for additional reinforcement.
Tools and Materials Needed
Tools
Saw:
A circular saw or a miter saw works great for cutting the 2×4 lumber to the desired lengths. A miter saw offers more precision, especially when making angled cuts, if your project requires it.
Drill:
A drill press is ideal for creating straight and accurate holes, but a handheld drill can also be used. You’ll need drill bits of various sizes, including one that matches the diameter of the bolt you’ll be using for the joint.
Chisel:
A chisel is used to create the recesses for the bearings. A sharp chisel makes the job easier and more precise.
Clamps:
Clamps are essential for holding the pieces of lumber in place while cutting, drilling, or assembling. They ensure that the parts stay in alignment and make the process safer and more efficient.
Measuring Tools:
A tape measure and a square are necessary for accurate measurements. Precise measurements are crucial for a well-functioning swivel joint.
Sander:
A sander, either a handheld or an orbital sander, is used to smooth the cut edges of the lumber and remove any splinters or rough spots.
Materials
2×4 Lumber:
As mentioned earlier, select high-quality 2x4s. The length of the 2x4s will depend on your project requirements. For a basic swivel joint demonstration, two pieces, one around 12 inches long for the base and one around 18 inches long for the rotating part, can be sufficient.
Bolts:
You’ll need a 1/2 – inch diameter bolt that is long enough to pass through both pieces of lumber and the bearing. A bolt that is 3 – 4 inches long is usually a good choice.
Washers:
Flat washers and lock washers are required. Flat washers distribute the load, and lock washers prevent the nuts from loosening over time.
Nuts:
Hex nuts are commonly used, but if you want the ability to adjust the joint easily without tools, wing nuts can be a great alternative.
Bearings:
For a 1/2 – inch bolt, you’ll need a bearing with a 1/2 – inch inner diameter. Ball bearings are a popular choice due to their smooth rotation.
Wood Glue:
Wood glue is used to add extra strength to the joint. It helps hold the pieces of lumber together and provides additional stability.
Screws:
2 – inch deck screws can be used to further secure the joint in place.
Step – by – Step Construction Process
Step 1: Cutting the 2x4s
Determine Dimensions:
Based on your project, decide on the lengths of the two 2×4 pieces. For a simple swivel joint, as mentioned before, a 12 – inch base and an 18 – inch rotating arm can be a good starting point.
Cutting:
Using your circular saw or miter saw, carefully cut the 2x4s to the desired lengths. Make sure to keep the cuts straight and square. After cutting, use a sander to smooth the edges and remove any splinters. This not only makes the pieces look better but also helps prevent injuries during the assembly process.
Step 2: Drilling Holes
Mark the Hole Locations:
On both the base and the rotating arm, mark the center points where the holes for the bolt and bearing will be drilled. Use a measuring tape and a square to ensure accuracy. The holes should be centered on the width of the 2×4.
Drill the Holes:
Using a drill bit that matches the diameter of the bolt (in this case, a 1/2 – inch drill bit), drill holes through both pieces of lumber. The holes should be perpendicular to the surface of the 2×4. If you’re using a drill press, it’s easier to maintain the straightness of the hole. For a handheld drill, take your time and use a steady hand.
Step 3: Creating Bearing Recesses
Measure and Mark:
Measure the outer diameter of the bearing you’ll be using. Using a chisel, mark a circular area around the drilled hole on both the base and the rotating arm. The diameter of this marked area should be slightly larger than the outer diameter of the bearing.
Chisel the Recesses:
Carefully chisel out the marked areas to create recesses for the bearings. The depth of the recess should be such that when the bearing is placed in it, the top of the bearing is flush with the surface of the 2×4. This may take some patience and careful work to ensure the recesses are smooth and even.
Step 4: Assembling the Joint
Insert Bearings:
Place the bearings into the recesses on both the base and the rotating arm. Make sure the bearings are seated properly and are level.
Align and Bolt:
Place the rotating arm over the base, aligning the drilled holes. Insert the bolt through the holes, starting from the bottom of the base. Add a flat washer, then the bearing on the base side, followed by another flat washer. On the rotating arm side, add a flat washer, the bearing, and another flat washer. Finally, screw on the nut.
Tighten the Nut:
Tighten the nut gradually. You want the joint to rotate smoothly, but not be too loose. If it’s too tight, the rotation will be difficult; if it’s too loose, the joint will be wobbly. Adjust the tightness of the nut until you achieve the right balance.
Step 5: Securing the Joint
Apply Wood Glue:
Apply a bead of wood glue around the contact areas between the base and the rotating arm. This adds extra strength to the joint. Be careful not to get glue on the bearing or the bolt threads, as it can affect the rotation.
Add Screws:
Using a drill, insert 2 – inch deck screws around the perimeter of the joint. Space the screws evenly to provide uniform reinforcement. This step further secures the joint and ensures its long-term stability.
Tips for a Better-Functioning Joint
Lubrication
Once the joint is assembled, applying a small amount of lubricant to the bearing can significantly improve its rotation. A light-weight machine oil or a lubricant specifically designed for bearings works well. Be careful not to over-lubricate, as it can attract dirt and debris.
Testing and Adjusting
Before using the swivel joint in your final project, test its rotation. If you notice any binding or uneven rotation, check the tightness of the nut, the alignment of the bearing, and the smoothness of the recesses. Make any necessary adjustments to ensure the joint functions properly.
Advanced Techniques and Variations
Adding a Pivot Point
Insert a 1/2-inch steel rod through the center of the joint for smoother rotation. Secure with washers and nuts on both ends.
Creating a Decorative Swivel Joint
Use a router to carve decorative edges on the 2×4 arms. Paint or stain the joint to match your project’s aesthetic.
Swivel Joint for Heavy Loads
Use 3/4-inch plywood gussets and 3-inch screws for added strength. Consider adding a metal bracket for heavy-duty applications.
Troubleshooting
Common Issues and Solutions
Problem: The joint is too tight.
Solution: Sand the edges of the notch slightly.
Problem: The joint wobbles.
Solution: Add shims or tighten screws.
Frequently Asked Questions
Q1: Can I use pine instead of 2×4 lumber?
A1: Yes, but hardwood like oak or maple will be more durable.
Q2: How do I prevent the joint from rusting?
A2: Use galvanized steel rods and apply a rust-resistant coating.
Q3: How to ensure the sealing of the rotary joint?
A3: The key steps to ensure sealing include:
Check thread direction: The rotating joint of the threaded connection should ensure that the thread direction of the inner and outer pipes is consistent with the rotation direction of the equipment.
Use hose connections: Avoid rigid pipe connections and recommend using metal hoses to reduce vibration and weight.
Cleaning the interior: Clean the pipes and joints before installation to prevent foreign objects from damaging the sealing surface.Regular maintenance: Observe the wear of the sealing surface. The normal wear range is 5-10mm, and severe wear requires replacement.
Q4: How to ensure the concentricity of the rotary joint during installation?
A4: Concentricity is the core factor affecting stability, and it is necessary to achieve:
Adjust the position of the shaft head: During installation, try to ensure the concentricity between the rotating joint and the equipment shaft head.
Calibration with a dial gauge: Adjust and lock the position with the dial gauge at low speed to reduce oscillation.
Support and anti-rotation: Ensure that the diameter of the support rod is about 2mm smaller than the rotation hole, leaving room for adjustment.
Q5: What are the common faults and solutions for 2×4 rotary joints?
A5: Common problems and solutions include:
Leakage issue: Check if foreign objects are stuck on the sealing surface, re grind or replace the sealing ring.
Concentricity difference: Reinstall and calibrate, check the tightness of the metal hose.
Tilt of sealing ring: Adjust the gap between the shell, bottom cover, and hollow shaft to ensure uniformity.
Insufficient lubrication: Regularly inject lubricating grease to avoid grease failure at high temperatures.
Q6: What should be noted when storing and handling rotary joints?
A6: Precautions for storage and handling:
Avoid impact: Handle with care to prevent damage to seals and internal components.
Environmental control: Store in a dry, cool place, avoid high temperature, humidity, or direct sunlight.
Long-term idle: Run at idle for 2 hours every 1-2 months to prevent internal scaling and rusting.
Protective packaging: Exposed threads or holes need to be covered with protective sleeves to prevent debris from entering.
Projects Using 2×4 Swivel Joints
Rotating Coffee Table
Build a base with four swivel joints for a dynamic centerpiece.
Foldable Workbench
Use swivel joints to create a collapsible design for easy storage.
Camera Dolly
Attach swivel joints to a platform for smooth, circular video shots.
Conclusion
Making a 2×4 swivel joint is a rewarding woodworking project that can enhance the functionality of your DIY creations. By following the steps outlined in this guide, you can create a durable and smooth-rotating joint. Whether you’re a beginner or a seasoned woodworker, this guide provides everything you need to create a strong, functional joint. So, get your tools and materials ready, and start creating your own 2×4 swivel joints today!